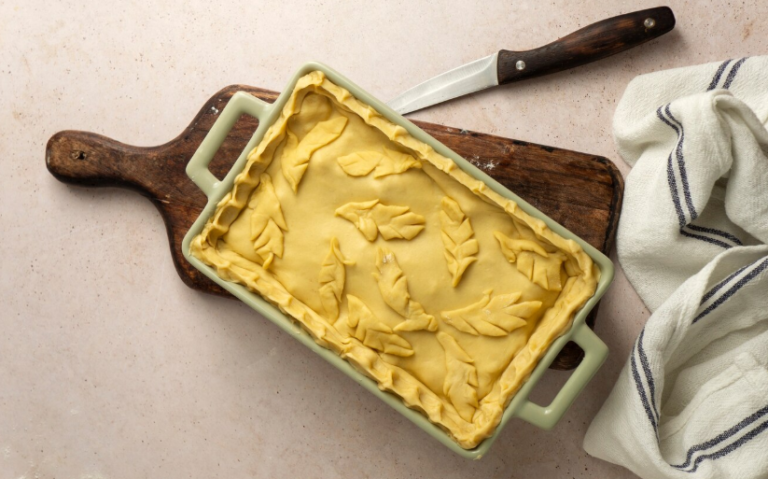
Mastering Greek Smashed Pita: A Crispy, Flavorful Mediterranean Delight
Greek Smashed Pita recipe
That first bite of authentic Greek smashed pita on a balmy Santorini evening changed my perspective on Mediterranean bread forever. The crispy exterior giving way to an airy, tender center created a perfect canvas for capturing rich olive oil and vibrant Greek flavors. This centuries-old technique of “smashing” the dough creates magical air pockets that transform during cooking. In this guide, I’ll show you exactly how to recreate this sun-soaked delicacy in your home cooking space.
Table of Contents
What Makes Greek Smashed Pita Different?
Whereas Middle Eastern pitas feature a hollow interior pocket, the Greek version employs a specific pressing method that creates its unique texture. Bakers literally press portions of risen dough with their palms, creating intentionally uneven thickness. This produces marvelous textural contrast once cooked—crispy edges surrounding tender, airy centers.
Regional variations flourish throughout Greece. Cretan versions often incorporate local herbs, while Thessaloniki bakers might finish with sesame seeds. Island varieties typically feature a thinner profile, perfect for wrapping fresh seafood and vegetables.
The Rich Heritage Behind Greek Smashed Pita
Dating back thousands of years, similar flatbreads appear in Classical Greek texts. For Greek families, this humble bread symbolizes connection—techniques passed down through generations, with elders teaching youngsters the perfect “smash” that written recipes can’t fully capture.
Though contemporary households rarely use traditional stone hearths anymore, the essential preparation methods endure, linking present-day bakers to their heritage with each freshly prepared round.
Essential Ingredients for Authentic Greek Smashed Pita
The Foundation Components
| Ingredient | Amount | Notes |
|---|---|---|
| Strong baking flour | 500g | Select varieties containing 12-14% gluten for optimal results |
| Active dry yeast | 7g | One standard packet |
| Lukewarm water | 300ml | Barely heated, comfortable on wrist |
| Extra virgin olive oil | 50ml | Choose a quality Greek variety |
| Sea salt | 10g | Flaky sea salt adds nice texture |
| Sugar | 5g | Just enough to activate the yeast |
Optional Flavor Enhancers
- Fresh oregano or thyme
- Toasted sesame or nigella seeds
- A hint of garlic powder
- Dried Greek mountain herbs
Step-by-Step Greek Smashed Pita Preparation
Creating Perfect Dough
Begin by dissolving yeast in warm water with a pinch of sugar until foamy. Combine the flour and salt in a generous-sized container, pushing ingredients toward the edges to create a depression in the middle. Add the bubbly yeast solution and olive oil into this central cavity, then slowly blend everything together by working from the inside out.
Empty the mixture onto a flour-dusted countertop and work the dough firmly with your hands for about 8-10 minutes until it transforms into a silky, springy consistency. Drape a moistened kitchen towel over the ball of dough and set it in a cozy spot for 60-120 minutes until it expands to twice its original volume.
The Critical “Smashing” Technique
After dividing your risen dough into equal portions, master the defining smashing approach. Place each portion on a lightly floured surface, then press firmly with your palm using a slight circular motion. This intentionally creates uneven thickness—thinner centers with slightly thicker edges.
Use minimal bench flour and apply confident pressure. Each finished disc should measure 15-20cm across with visible indentations—these become magical air pockets during cooking.
Cooking To Perfection
Thoroughly preheat your cooking surface—traditional stone, cast iron, or heavy griddle—to approximately 450°F (230°C). Each smashed disk requires just 2-3 minutes per side. Look for bubbles forming across the surface as your signal to flip.
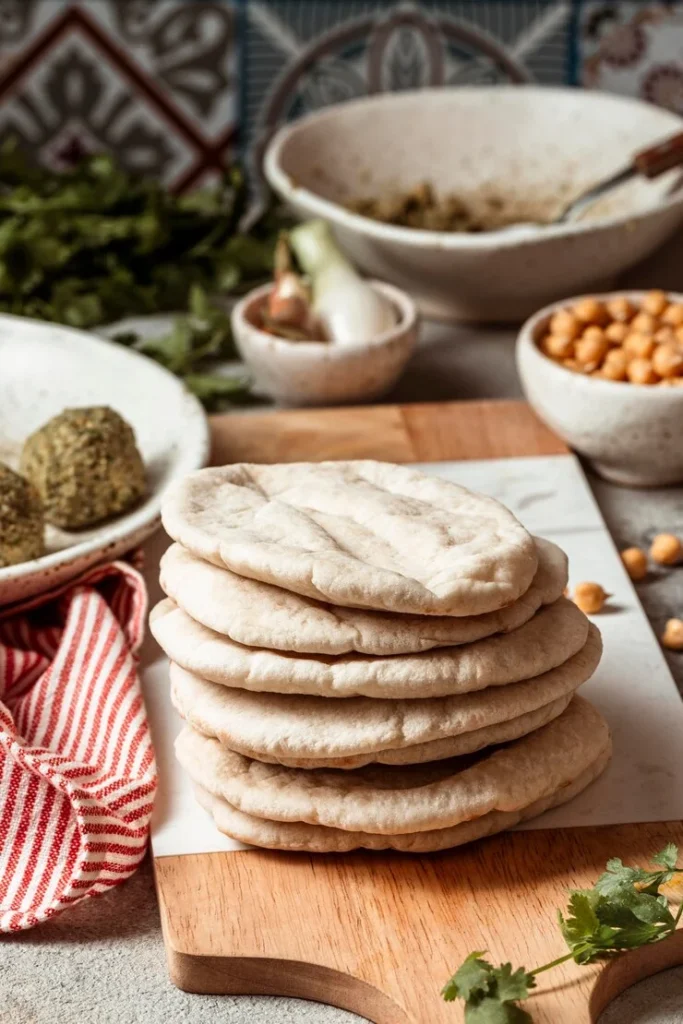
The finished pita should display a mottled golden-brown exterior with characteristic charred spots. Transfer immediately to a cloth-lined basket and cover to trap steam, which continues tenderizing the interior while maintaining exterior crispness.
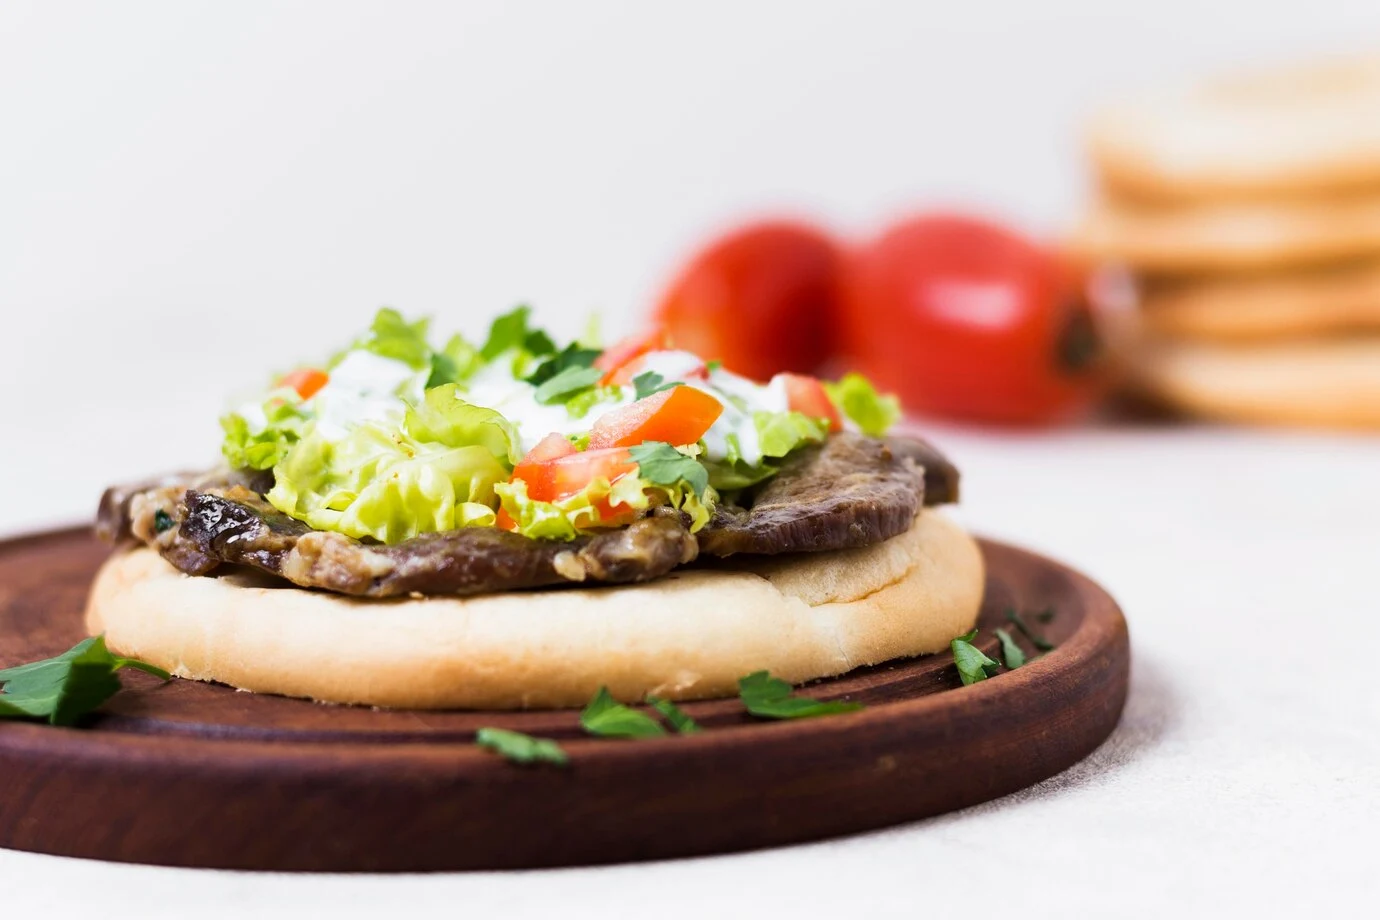
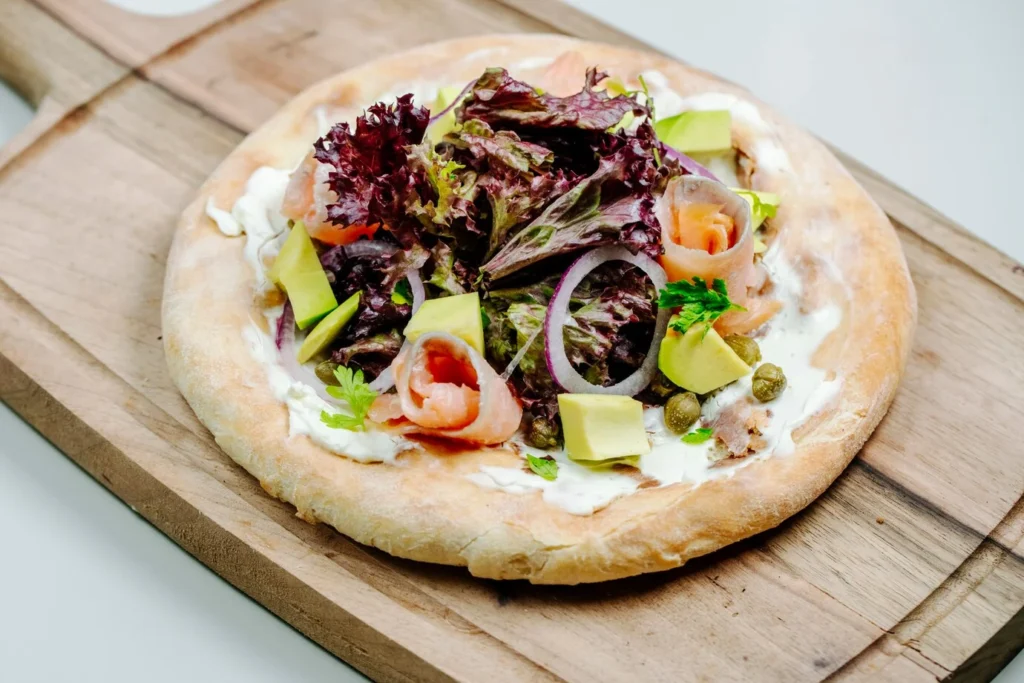
Authentic Greek Accompaniments
While delicious alone, Greek smashed pita reaches its full potential paired with traditional accompaniments:
| Accompaniment | Flavor Profile |
|---|---|
| Tzatziki | Cooling cucumber-yogurt dip provides perfect contrast |
| Chicken or lamb souvlaki | Herb-marinated grilled meat creates satisfying combinations |
| Greek salad | Fresh vegetables, olives and feta offer ideal texture contrast |
| Hummus | Silky chickpea puree catches in pita’s air pockets |
| Melitzanosalata | Smoky eggplant spread adds depth and complexity |
Frequently Asked Questions About Greek Smashed Pita
What makes Greek smashed pita different from regular pita bread? Greek smashed pita features a unique technique where the dough is literally “smashed” before cooking, creating air pockets that expand for a distinctive texture combining crispy exterior with a tender interior.
Can I make Greek smashed pita without a traditional stone oven? Absolutely! While stone ovens provide authentic results, excellent Greek smashed pita can be made using a cast iron skillet, heavy griddle, or a well-preheated conventional oven with a pizza stone.
Is Greek smashed pita suitable for meal prepping? Greek smashed pita freezes beautifully. Prepare a large batch, cool completely, and store in freezer bags with parchment paper between each pita to prevent sticking.
Bringing Greece to Your Table
The humble Greek smashed pita represents more than just bread—it embodies centuries of Mediterranean culinary wisdom and family traditions. By mastering this versatile staple, you’re participating in a timeless cultural experience that has brought people together around Greek tables for generations.
Experiment with different herbs, various cooking surfaces, and discover your perfect thickness preference. The beauty of this ancient food lies in its adaptability while maintaining its essential character.
Have you tried making Greek smashed pita at home? Drop us a note about your homemade pita adventures in the comment section, or showcase your kitchen successes by tagging our profiles on your preferred social platforms. For more Mediterranean inspiration, subscribe to our newsletter for monthly recipes direct from Greek kitchens to yours.